Atlanta Boudoir

OWN Boudoir Blog

This boudoir blog details up-to-date information, boudoir sessions, boudoir tips, and photography insights from OWN boudoir studio. This blog is the best place to find current boudoir work, travel dates, product descriptions, and internal musings! Can't get enough of this boudoir blog? Check out my Instagram! It's full of new boudoir sessions and photography.

Posts tagged boudoir pose
Here's a unique wardrobe idea! | Atlanta Boudoir Photographer

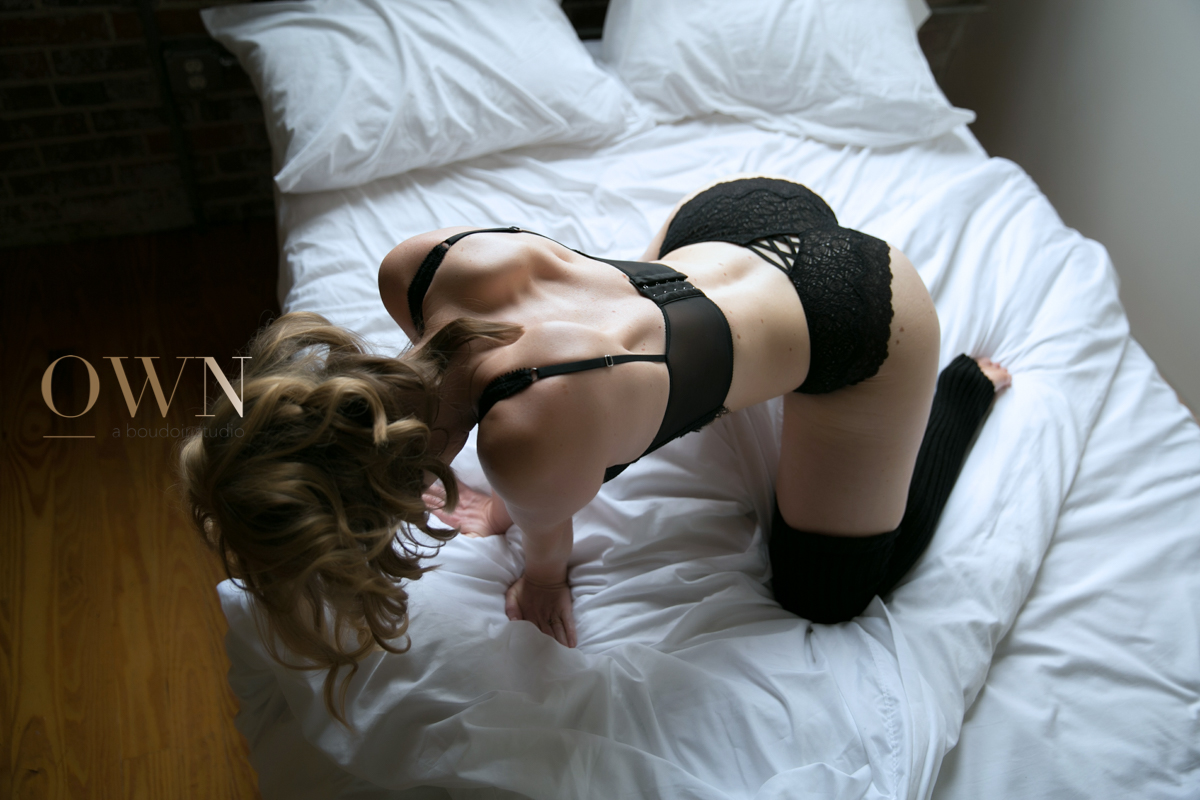
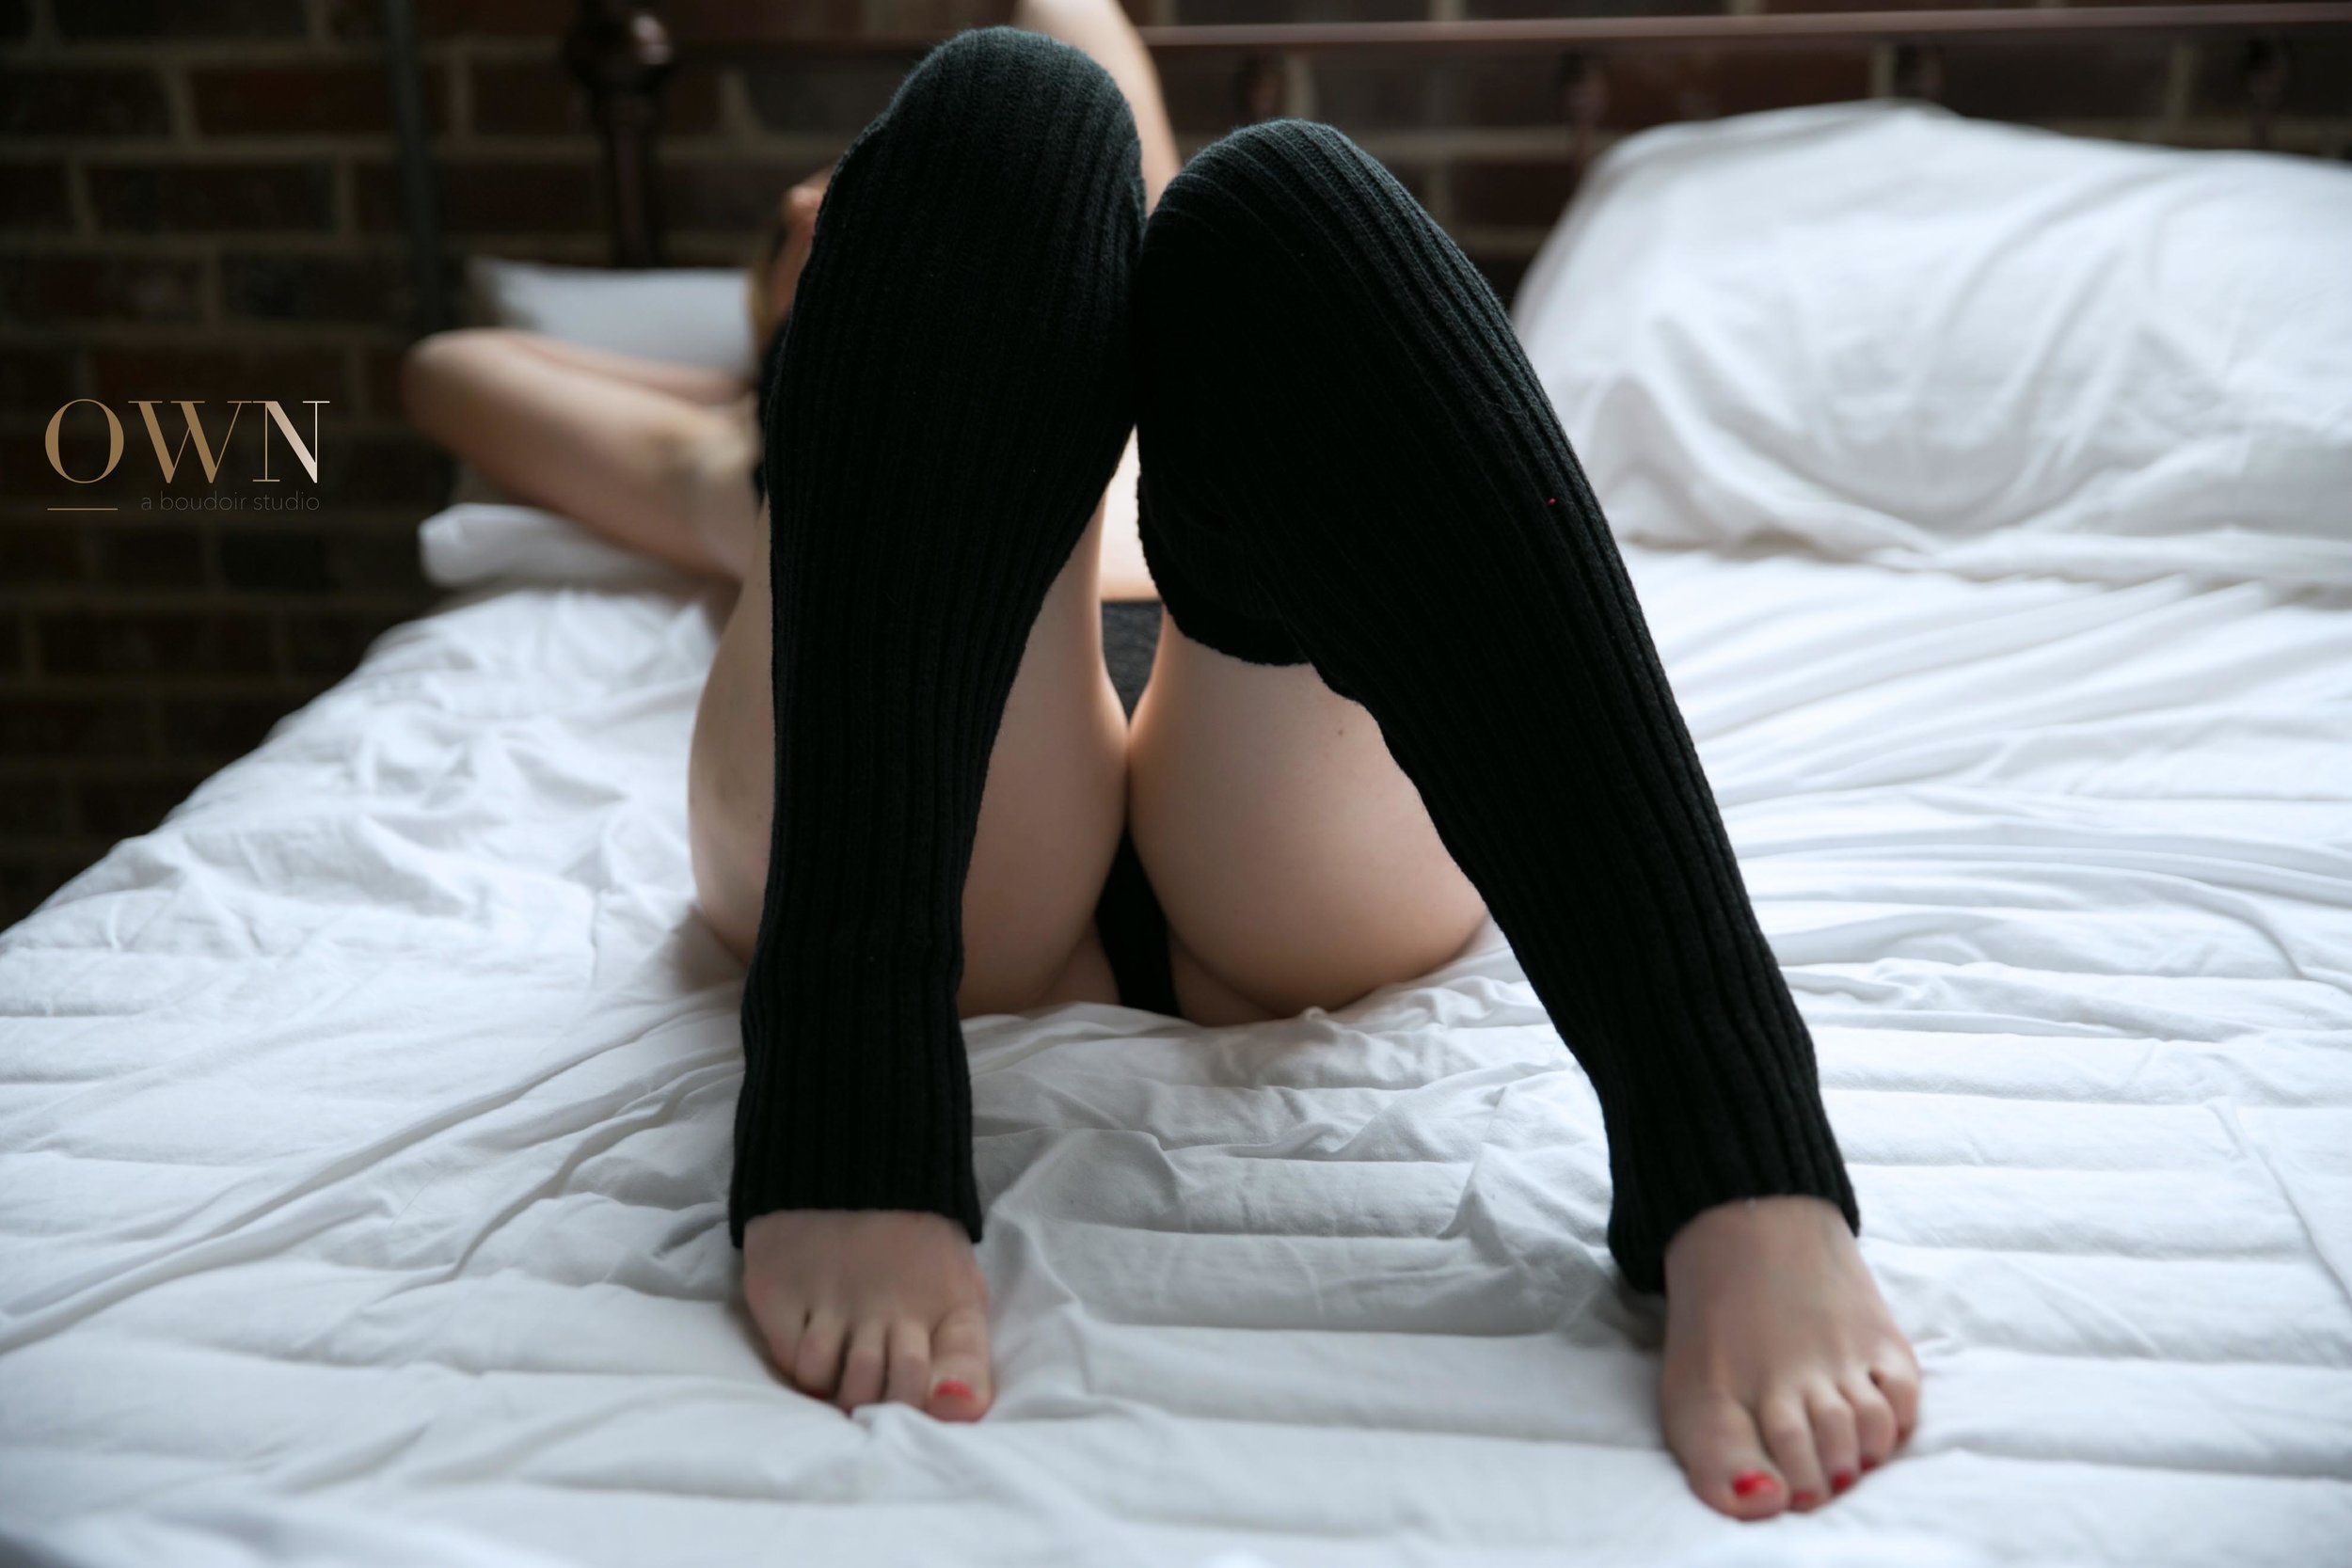
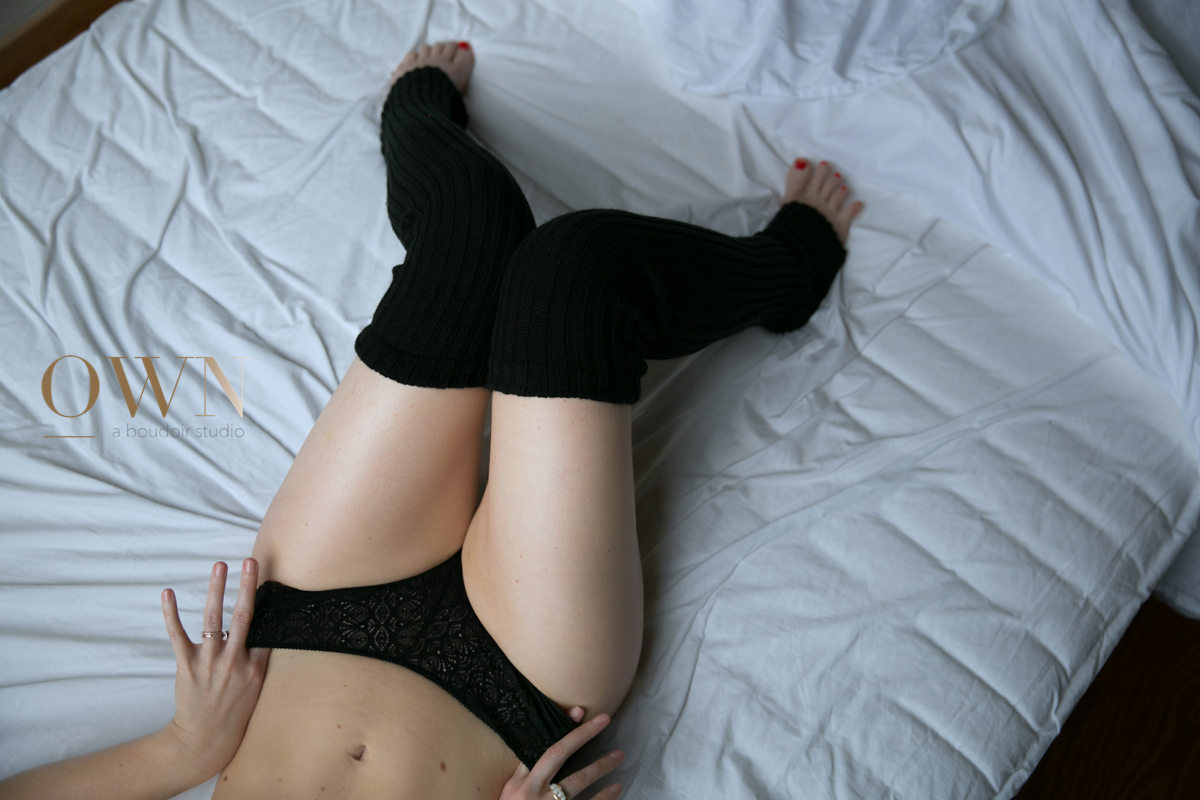
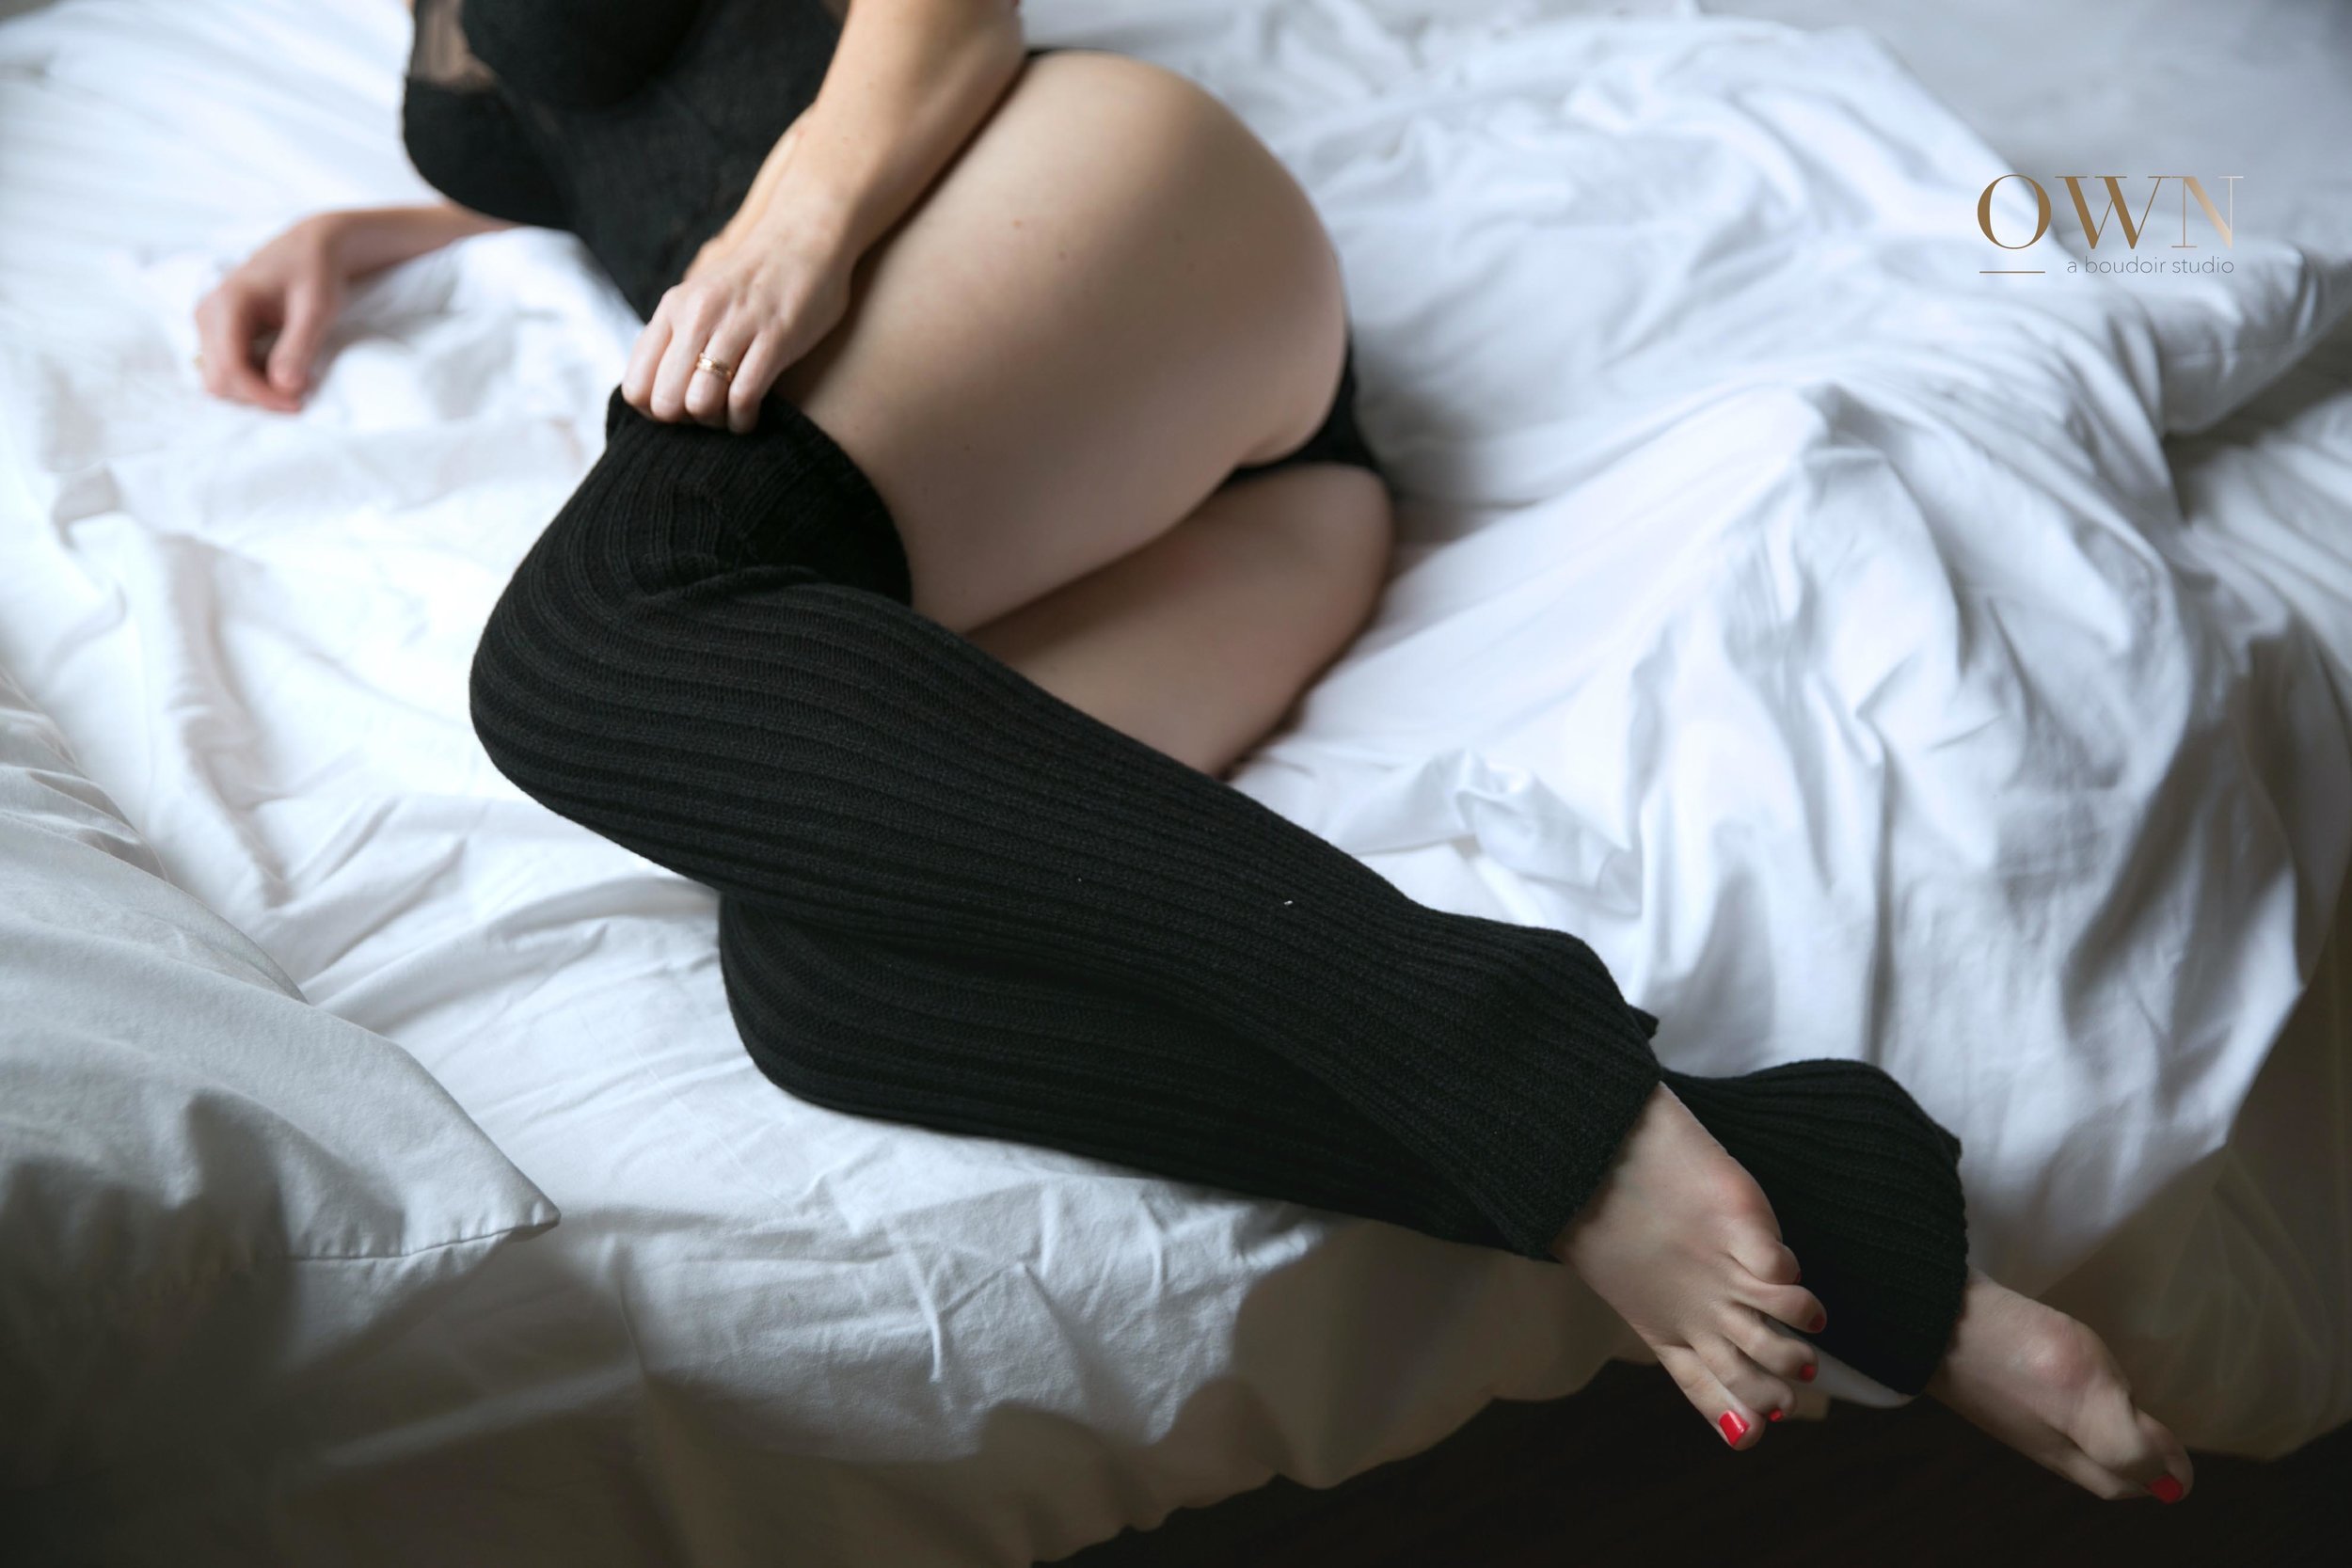
Looking for a unique wardrobe idea for your boudoir session that doesn't necessarily involve whips and chains or a bendy-ness of a Yogi to get into? Look no further than leg warmers! 


The weather is almost chilly enough to keep your layers on, but we love leg-warmers at all times of the year. Bring them in for your boudoir shoot and we’ll have some fun thinking of creative ways to use them!

Leg warmers are easy to get in to (a huge plus) and really change the direction of an outfit. Here we paired leg warmers with a black lace bralette set! By itself this set could be paired with heels or thigh-highs to create a more "late night" sexy vibe. With the leg warmers added we were able to create a more "saturday morning sexy" vibe. Let's all clap for variety!!! 

Here are a few of my favorite images from this boudoir set. Take note that this look can also be achieved by using thigh-high socks! 

How did I get this shot? | Atlanta boudoir photographer

Hey guys!!! I wanted to invite you in to a sort of 'behind the scenes' of a boudoir shoot type of image. This perspective doesn't appear much on my Instagram profile (or the galleries on this website), but believe it may be helpful for you to see just how a certain image is set up and accomplished! 

When you peruse through my galleries, the instagram account, or our Pinterest it can be a little mind-bending to figure out just HOW a certain image was captured, especially if you're considering a boudoir session of your own. I can guarantee you that there are so many tiny little details in the creation of an image that you'd otherwise think to yourself "How does that just happen NATURALLY?". 

The truth of the matter is that it doesn't happen "naturally". Not at all. In fact, one of the first things I bark (loudly) in my client's ears when they walk through the doors is "YO, the weirder it feels the better it looks!". Posing, angles, lighting, wardrobe, and hair/makeup (and a smidge of my talent) all combine to create an extraordinary image of the person you are. 

Take a look at this boudoir photo (also it's a great photo of my beautiful office assistant, Frances!!)

I LOVE this boudoir image! I love this client, the light, the pose, the makeup, and my slight talent in being able to see it and snap it. 

Here is the behind the scenes set up of how this image was created. Pose, light, settings, beauty, etc will be covered. There will be some language for photographers, and so if you don't care about that then go ahead and skip it... I'm not here to waste your time. 

Yes!!! Isn't it fun to see what was going on in the background?

The final image was taken from behind the sofa, so that I could capture her face perfectly, which was my ultimate goal.

For posing:

  • In order to make sure the curve of her back was defined in the final image I needed to make sure that the right side of her hip and butt were a little "higher" than the left. This would create a 'dip' in the lower back (which is traced clearly by the window-pane shadow on her back in the final image) and make sure that her curves were defined. I did this by making sure that her right knee was backed away from the couch a BIT more than her left. My advice to photographers: watch your light and shadows when moving legs/knees... the slightest movement can make the biggest difference. 
  • In the 'behind the scenes' image her left arm is a BIT too forward. If I'd kept it this way then the final image would have her a little too flat on the couch. It would flatter her breasts, pancake out her upper arms, and flatten her curved back that we JUST GOT PERFECT!!!! So when I moved to take the final image I had her move her left elbow backward a bit and in to her side just a bit. This movement helped to engage the shoulders and tense up the arm muscles. Both of those little changes allow the arm to remain slender and also engage the back/core a bit more. This is where we start singing "...the knee bone's connected to the hip bone, the hip bone's connected to the back bone" and so on and so forth. If you have no idea what I am talking about then I will link it at the bottom of this post. 
  • Since I knew this was ultimately going to be a photograph of her face I spent a LOT of time making sure the face was posed in the best way. If you take a look at her final image you can see that her chin is down. While I know it turned out beautifully, if you aren't careful about a client's chin then it can cease to become a chin. We don't want 15 chins, people!!!! By building off of the previous posing tweaks I was able to have her put her chin down without any destruction of the shape of her face. Having her body slightly perched up by her left arm (remember, we moved that back a bit to sit her up!) allowed her necking chin to elongate a bit and have room to move. I had her turn her chin to the left where it met her left shoulder so that the light would hit her evenly. I had her turn her eyes down (my words are: "Look cross-eyed at your nose!") so that it didn't look as if she were staring into dead space. 
  • Then I snapped the image. 

Whew!!!! I feel exhausted just going over those details right now, but during your shoot my brain can process those details in about 50 seconds. The process of creating original images for each client is such a joy for me explore. 

Now for the photographer details:

  • Camera: Canon 5DM3
  • Lens: EF 24-70mm f/2.8L (second version)
  • Focal length: 53mm
  • Captured: 1/250 @f/2.8 ISO 125
  • Lighting: Canon 600EX-II Rt @ 1/64th power on manual **This was done so that I was still able to balance the BRIGHT light coming in from the window directly beside the client. 10:30am summer sun can really be a bitch. Without light on her face I would have to over-expose/blow out the light shining on her back in order to make sure her face showed up (since it was in the shadow). By adding a bit of fill-light from the flash I was able to see her face as well as capture the curvature of her body. To be honest I do not always use off-camera-flash (OCF), and really only use lights when the image I'm trying to create cannot be accomplished without them.
  • Accessories: Flash mounted to Manfroto stand with a generic white umbrella. 
  • Angle: 3ft away from client, positioned directly in front of the client, flash 1ft above her head, pointed at eyes.


Well there you go! I hope that helps you out to see all that goes in to an image. Let's rinse and repeat that 1,395 more times during your boudoir session. ;) 

Ready to book your OWN boudoir session? Click here!


Here's that "knee bone" song, for all of you still paying attention: https://www.youtube.com/watch?v=e54m6XOpRgU