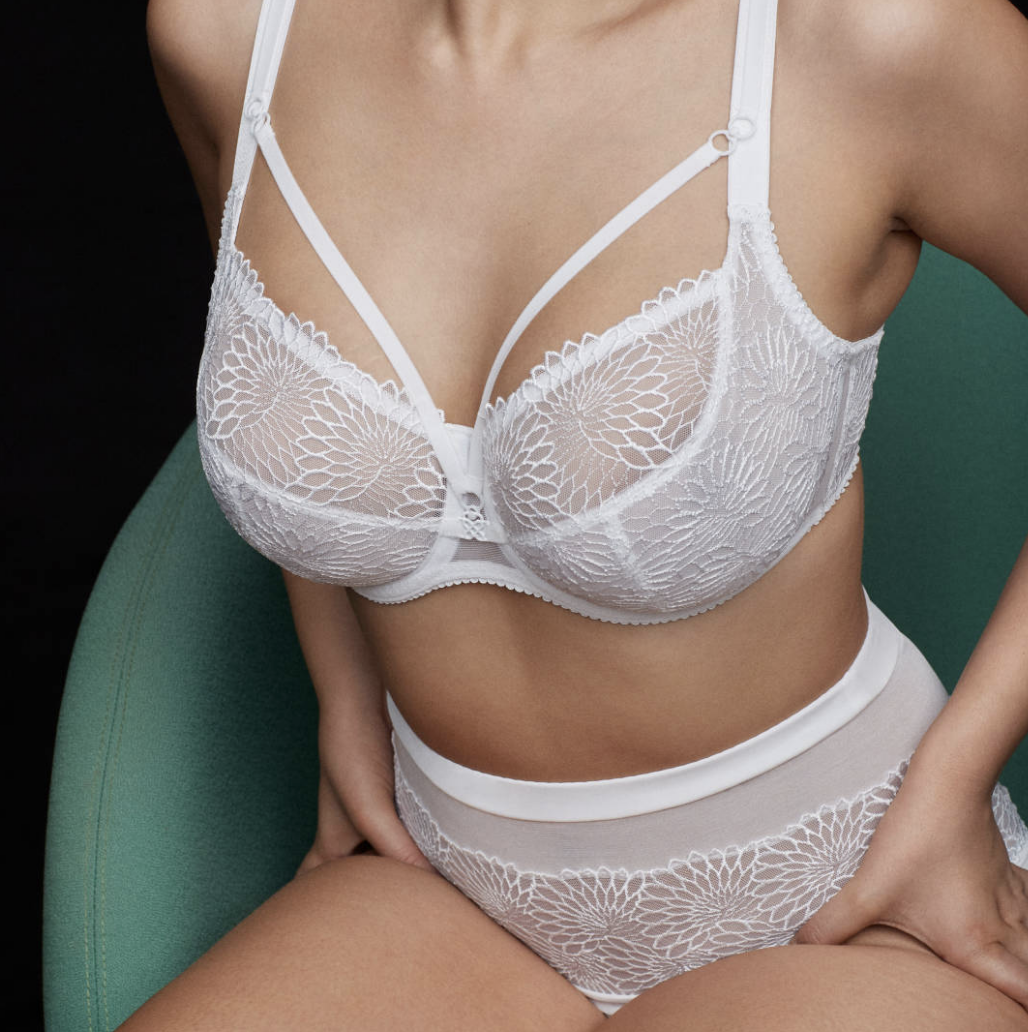
This eco-conscious Austrailian lingerie brand is known for keeping solid colors interesting. Their strappy, soft, recycled ‘pole wear’ (think: perfect for pole dancing AND for your boudoir session). Each piece is interchangeable and I love mixing and matching the different color sets with each other! My recommendation for your boudoir session: Pair the same color bra and underwear with a different color garter belt!
**I’m reviving this post because it is the summer after a global pandemic and we can finally (almost) get fully out and about again! It is bathing suit season and the rules of boudoir posing definitely work for swimsuit posing. Summer is coming up here, so I hope this helps everyone take the best vacation photos!
We all love the promise of spring, summer, and warmer weather. What’s not to love? The stores put out the new fashions, there are even cuter sandals than last year, patios are sensible again, and the beach/pool are regular weekend activities. One could almost go into a happiness coma thinking about it all - until it suddenly hits you that bathing suits will be involved. The mere thought of putting on a suit after full year of sitting inside, making bread, watching Tiger King, and never getting out of pajamas can terrify me back to quarantine.
Fear not, readers! You may not be feeling your best, but I will teach you how to pose your best! It never fails that we’ll have that one friend wanting to Instagram every step we take, and so it’s important to know how to look our best.
In honor of the start of summer (and swimsuit season!) here are a few important posing tips for your upcoming, vacation, lake day, etc. Hint: these tips also apply to your boudoir photos :)
Here are some “Don't”s.
1) Don’t do the straight-on shot. This pose doesn’t allow the camera to register any of your shape and angles because your entire body is on the same camera-plane. The result is a very flat shot that gives the illusion of a wider and shorter shape.
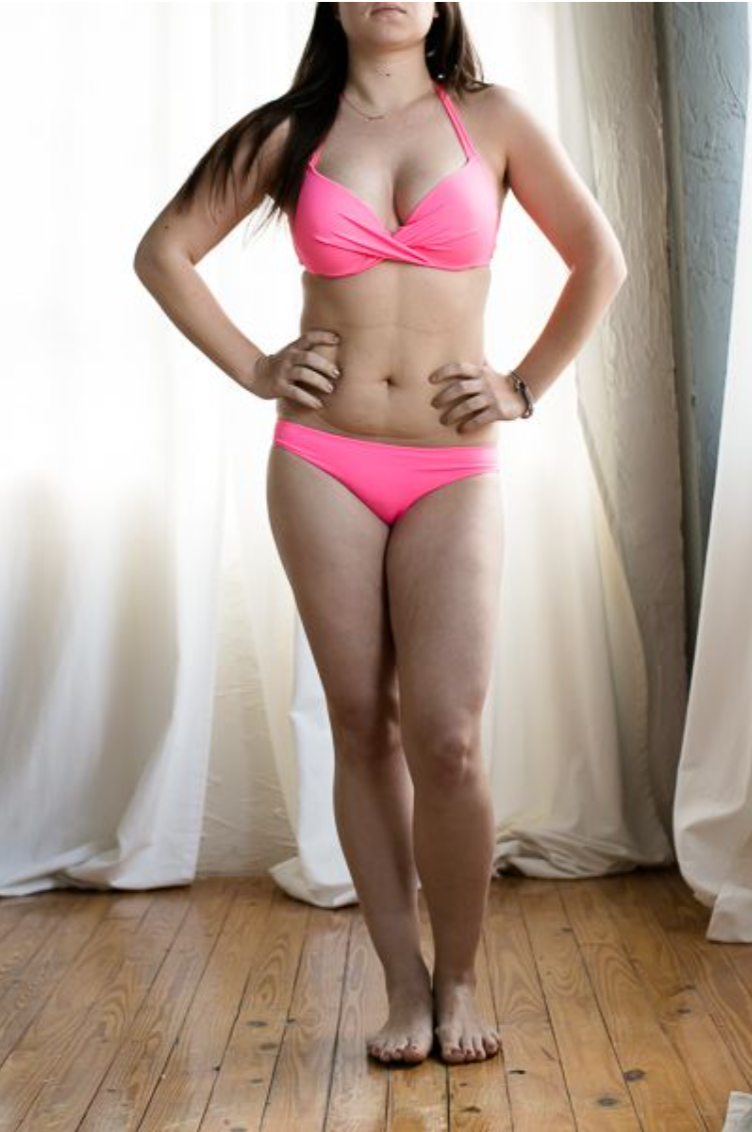
2) Don’t do the ‘legs apart’ shot. For the same reasons as above, this pose causes the camera to see you a bit wider and shorter. When feet are a part the eye sees a ‘box’ instead of anything curvy. While the hand-on-the-hip is usually a great idea, in the straight-on and legs-apart shot it can accentuate the ‘box’ figure. I also think this makes me look pissed. I’d rather look approachable :)
You can see in this image how my body looks much wider since the eye is drawn to the distance between my feet and creates a ‘boxy’ assumption about my figure. My hand on my hip is not helping the ‘box’.
3) Don’t put all of your weight on the hip/leg closest to the camera. Putting your weight on any leg will cause your muscles to bulk up a bit (as it should!). Whatever is closest to the camera (boobs, legs, head, shoulders, knees, toes, etc) will appear the largest. This is great if we're trying to make something appear fuller/larger (like the booty for example). However, in this particular pose it a) creates the illusion of larger thighs and tummy regions b) will make you appear inches shorter c) will give the idea of weight that isn’t there, especially in the tummy area. I can’t believe I am even putting this online. This is something that I would de-tag right away and hold against my so-called friend for the rest of her life.
You can see in this photo how my thighs appear larger than they normally are since that is where I am holding my weight. The angle makes me look much shorter than I am, and I have some bulges in the tummy. I love my thicker thighs, but I definitely want to make sure they are photographed well!


